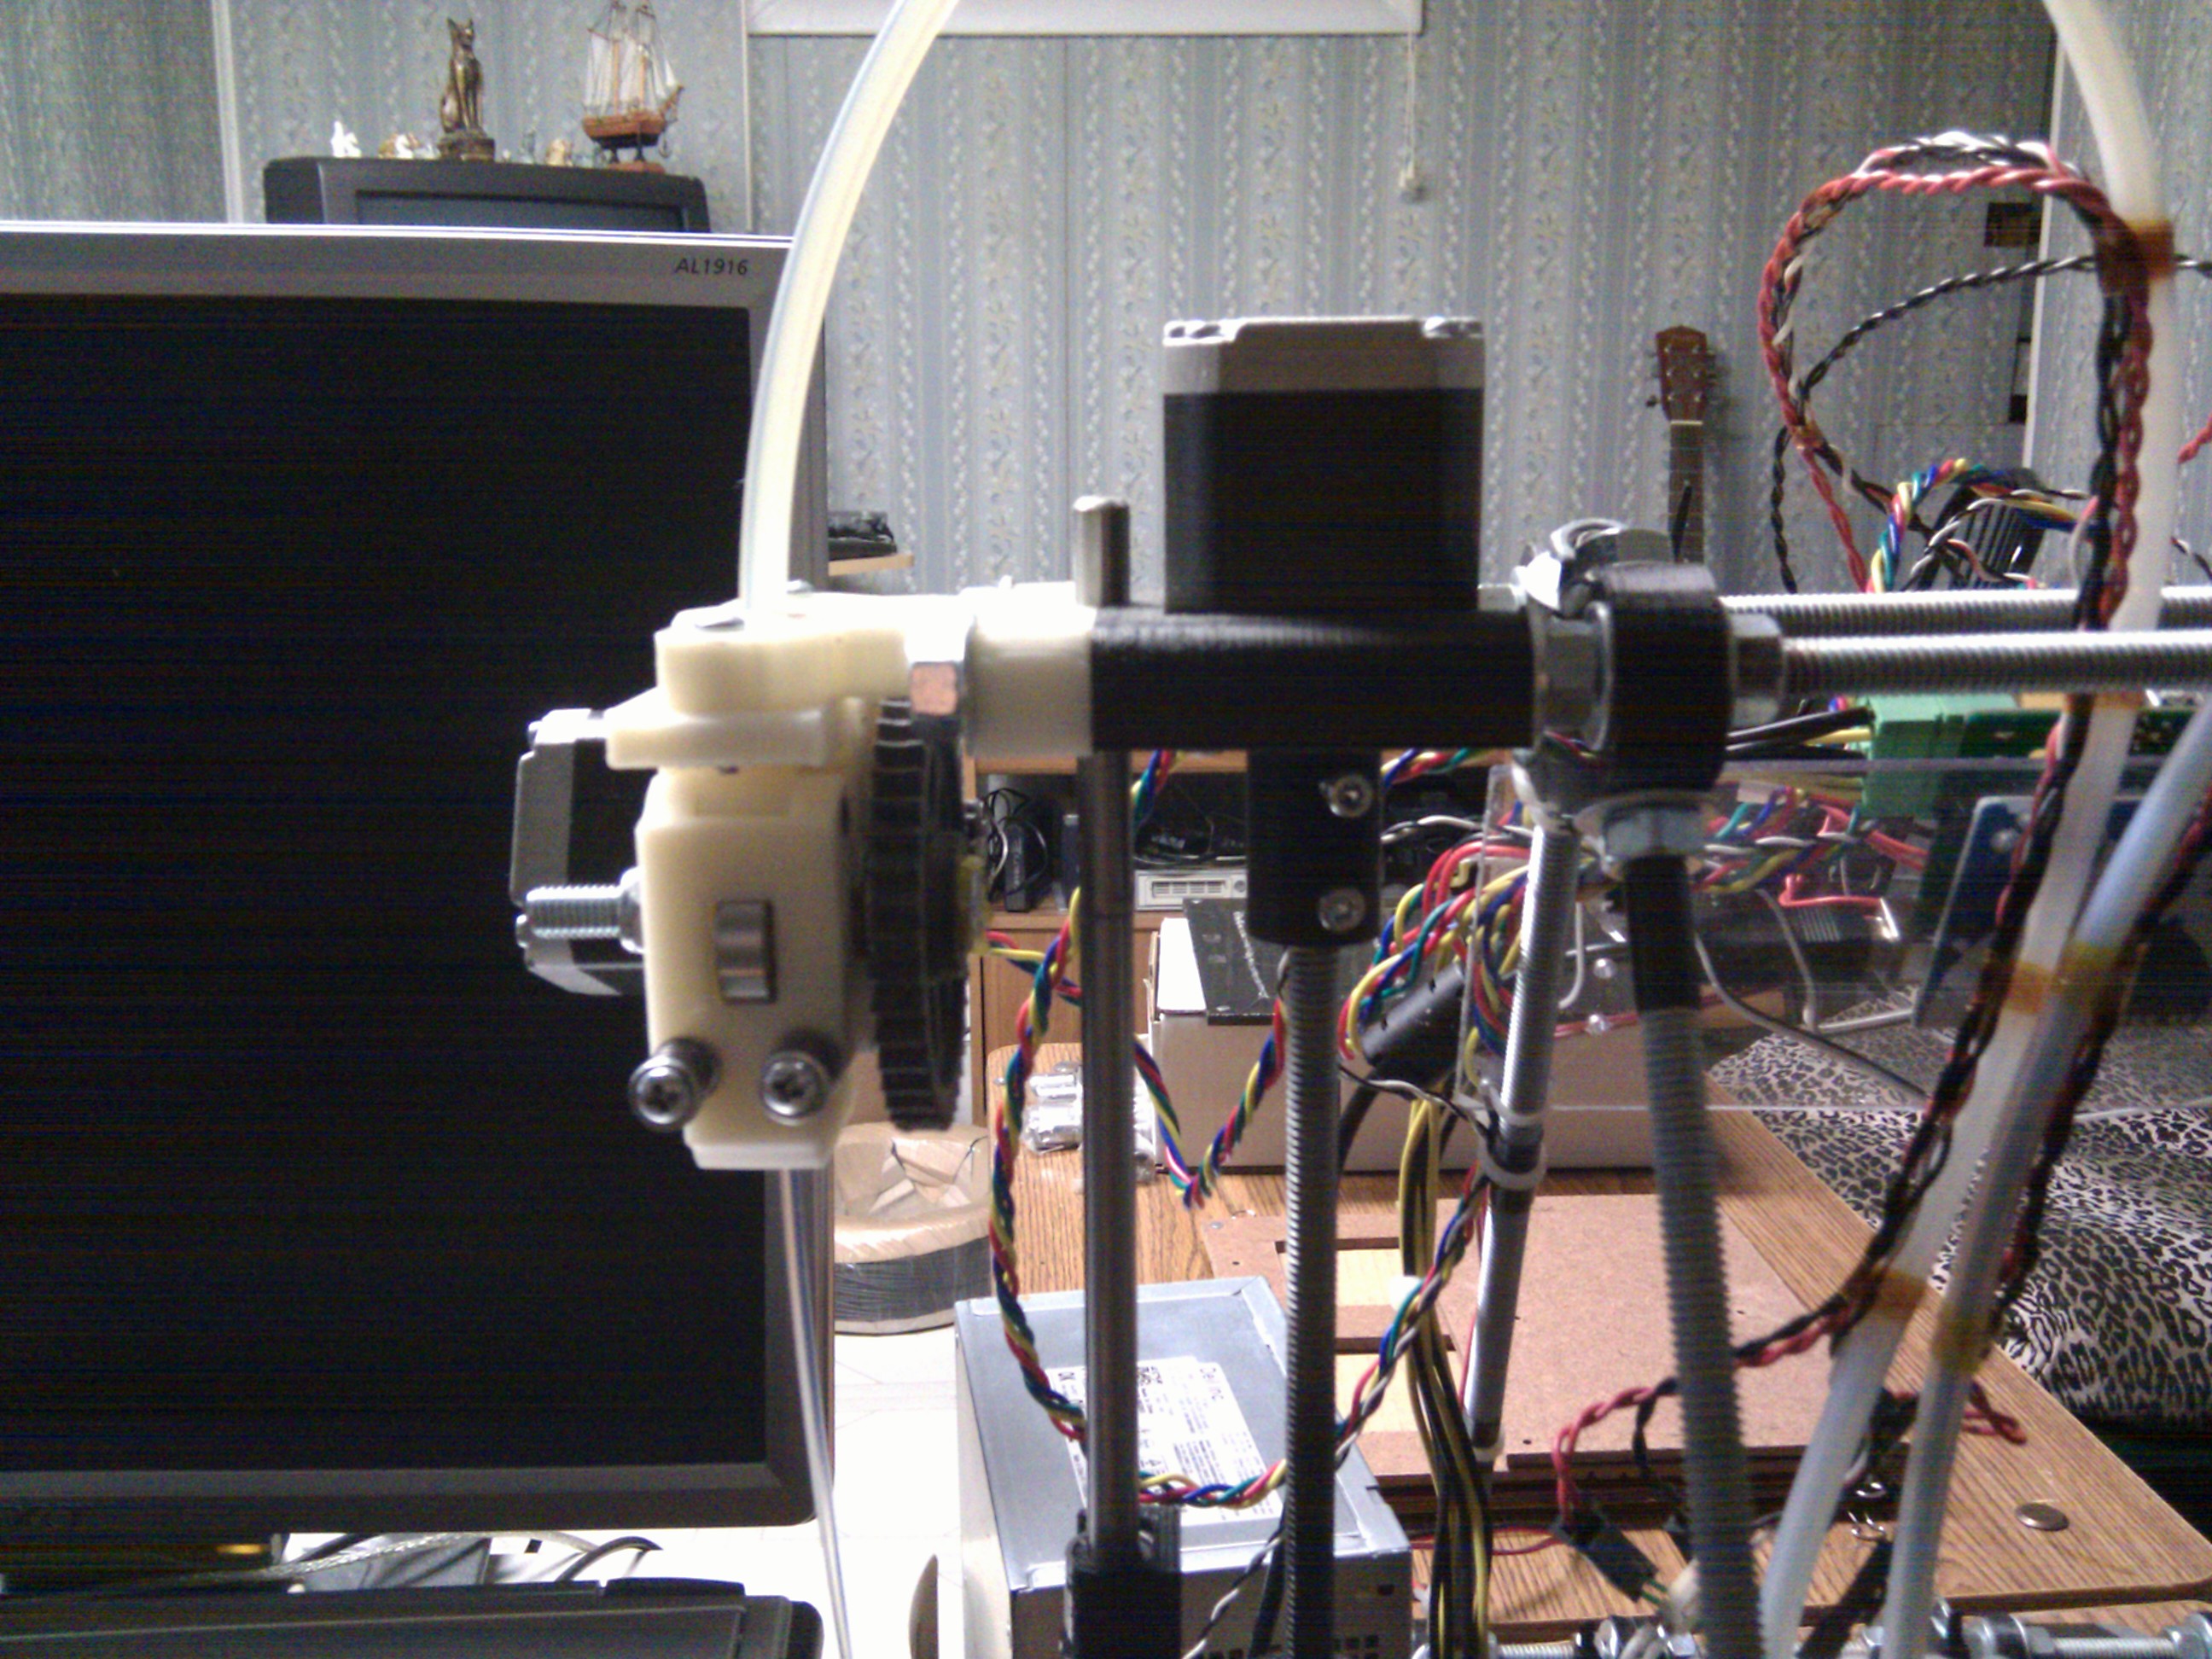
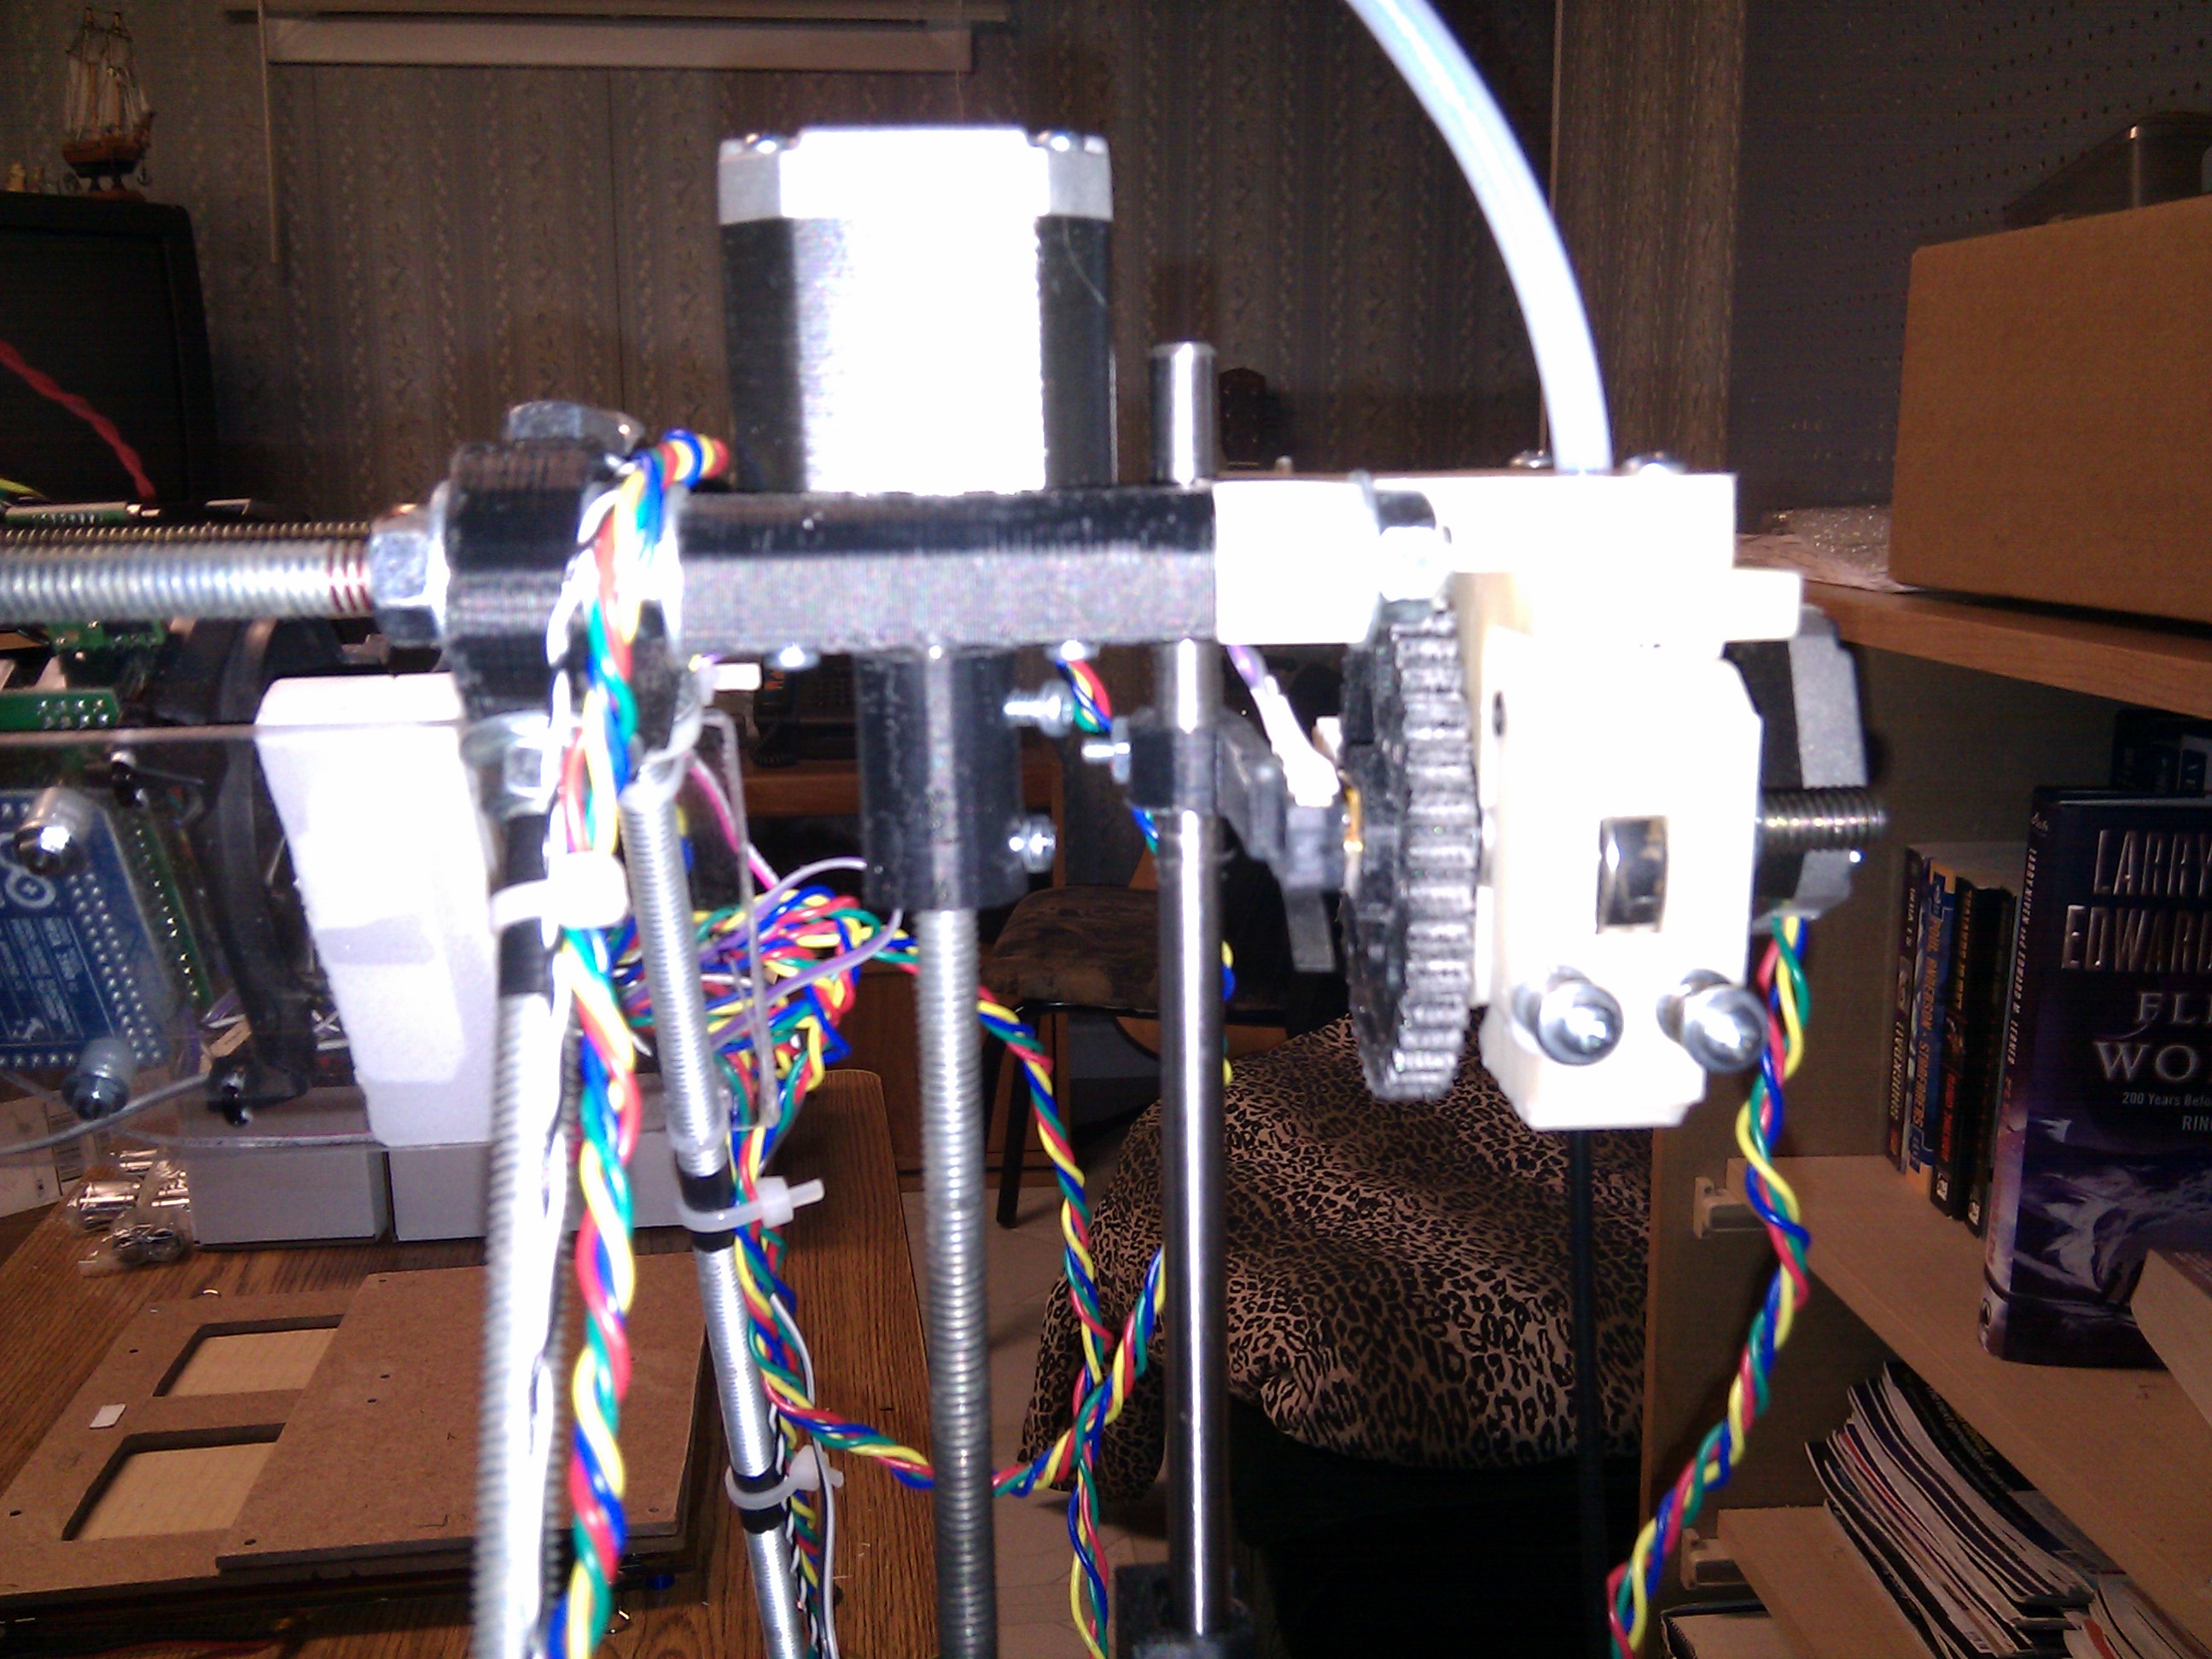
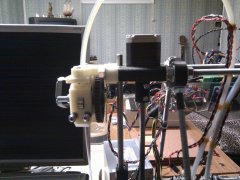
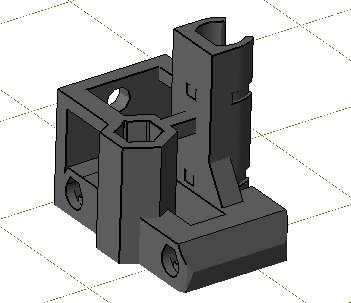
The extruders are mounted on the sides of the printer and the filament is driven through the PTFE tubes (A. Bowden's mount).
The extruder side mounts also serve as the smooth rod clamps.
Note that the right side extruder has to be mirrored to face the same side of the printer as the left one.
I'm currently using 3mm, but the design files include parts for 1.75mm too if needed.
Downloads:
- Extruder side mount 3mm (stl)
- Extruder side mount 3mm (skp)
- Extruder side mount 1.75mm (stl)
- Extruder side mount 1.75mm (skp)

|
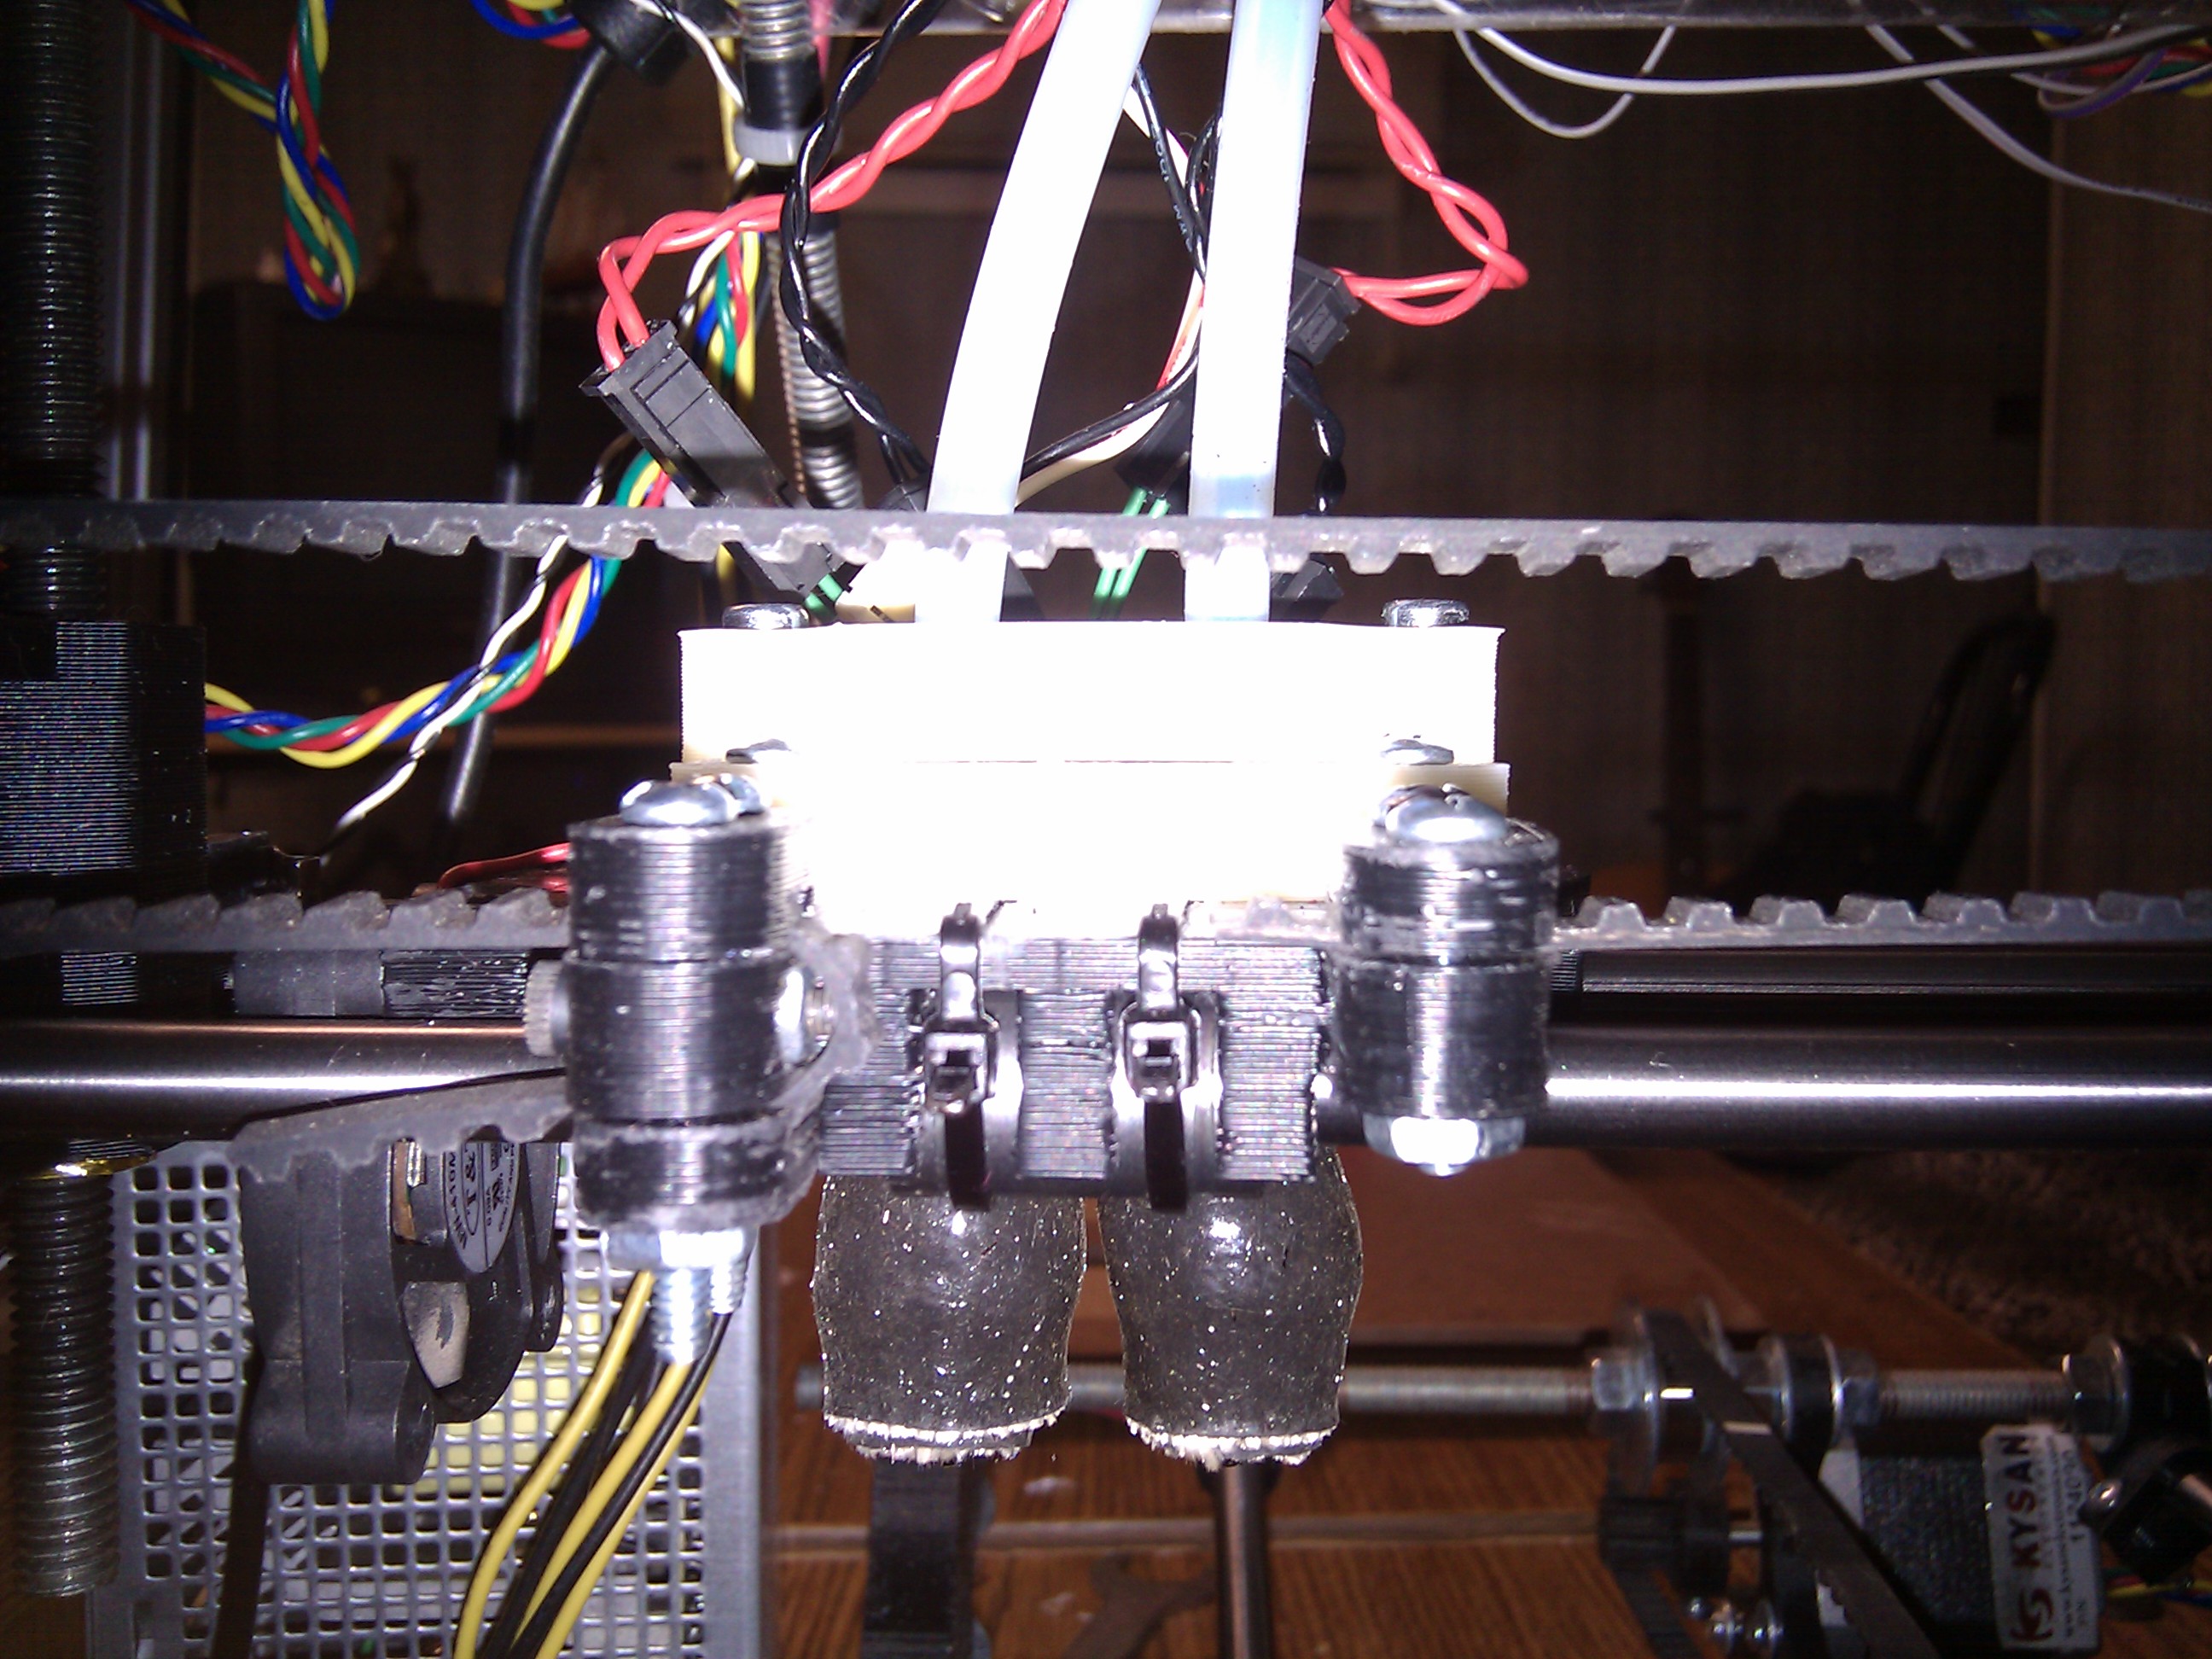
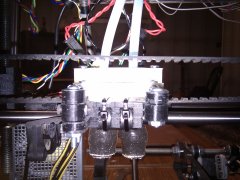
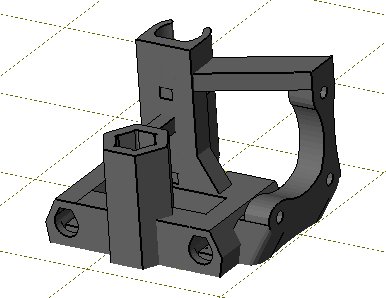
The PTFE tubes direct the filament to the hotends on the x-carriage. The hotend adapter is designed to fit 2 Makergear hotends and
keep them close enough to get through the x-carriage opening.
In addition to the 2x3mm, the sketchup file contains models for 2x1.75mm and 1x3mm+1x1.75mm filament drive adapter configurations.
Note, it is very important to keep the hotends leveled precisely at the same height above the printing platform.
Downloads:
- 2 hotends mount (stl)
- 2 hotends mount (skp)
- 2 hotends filament drive adapter 2x3mm (stl)
- 2 hotends filament drive adapter, all (skp)
|
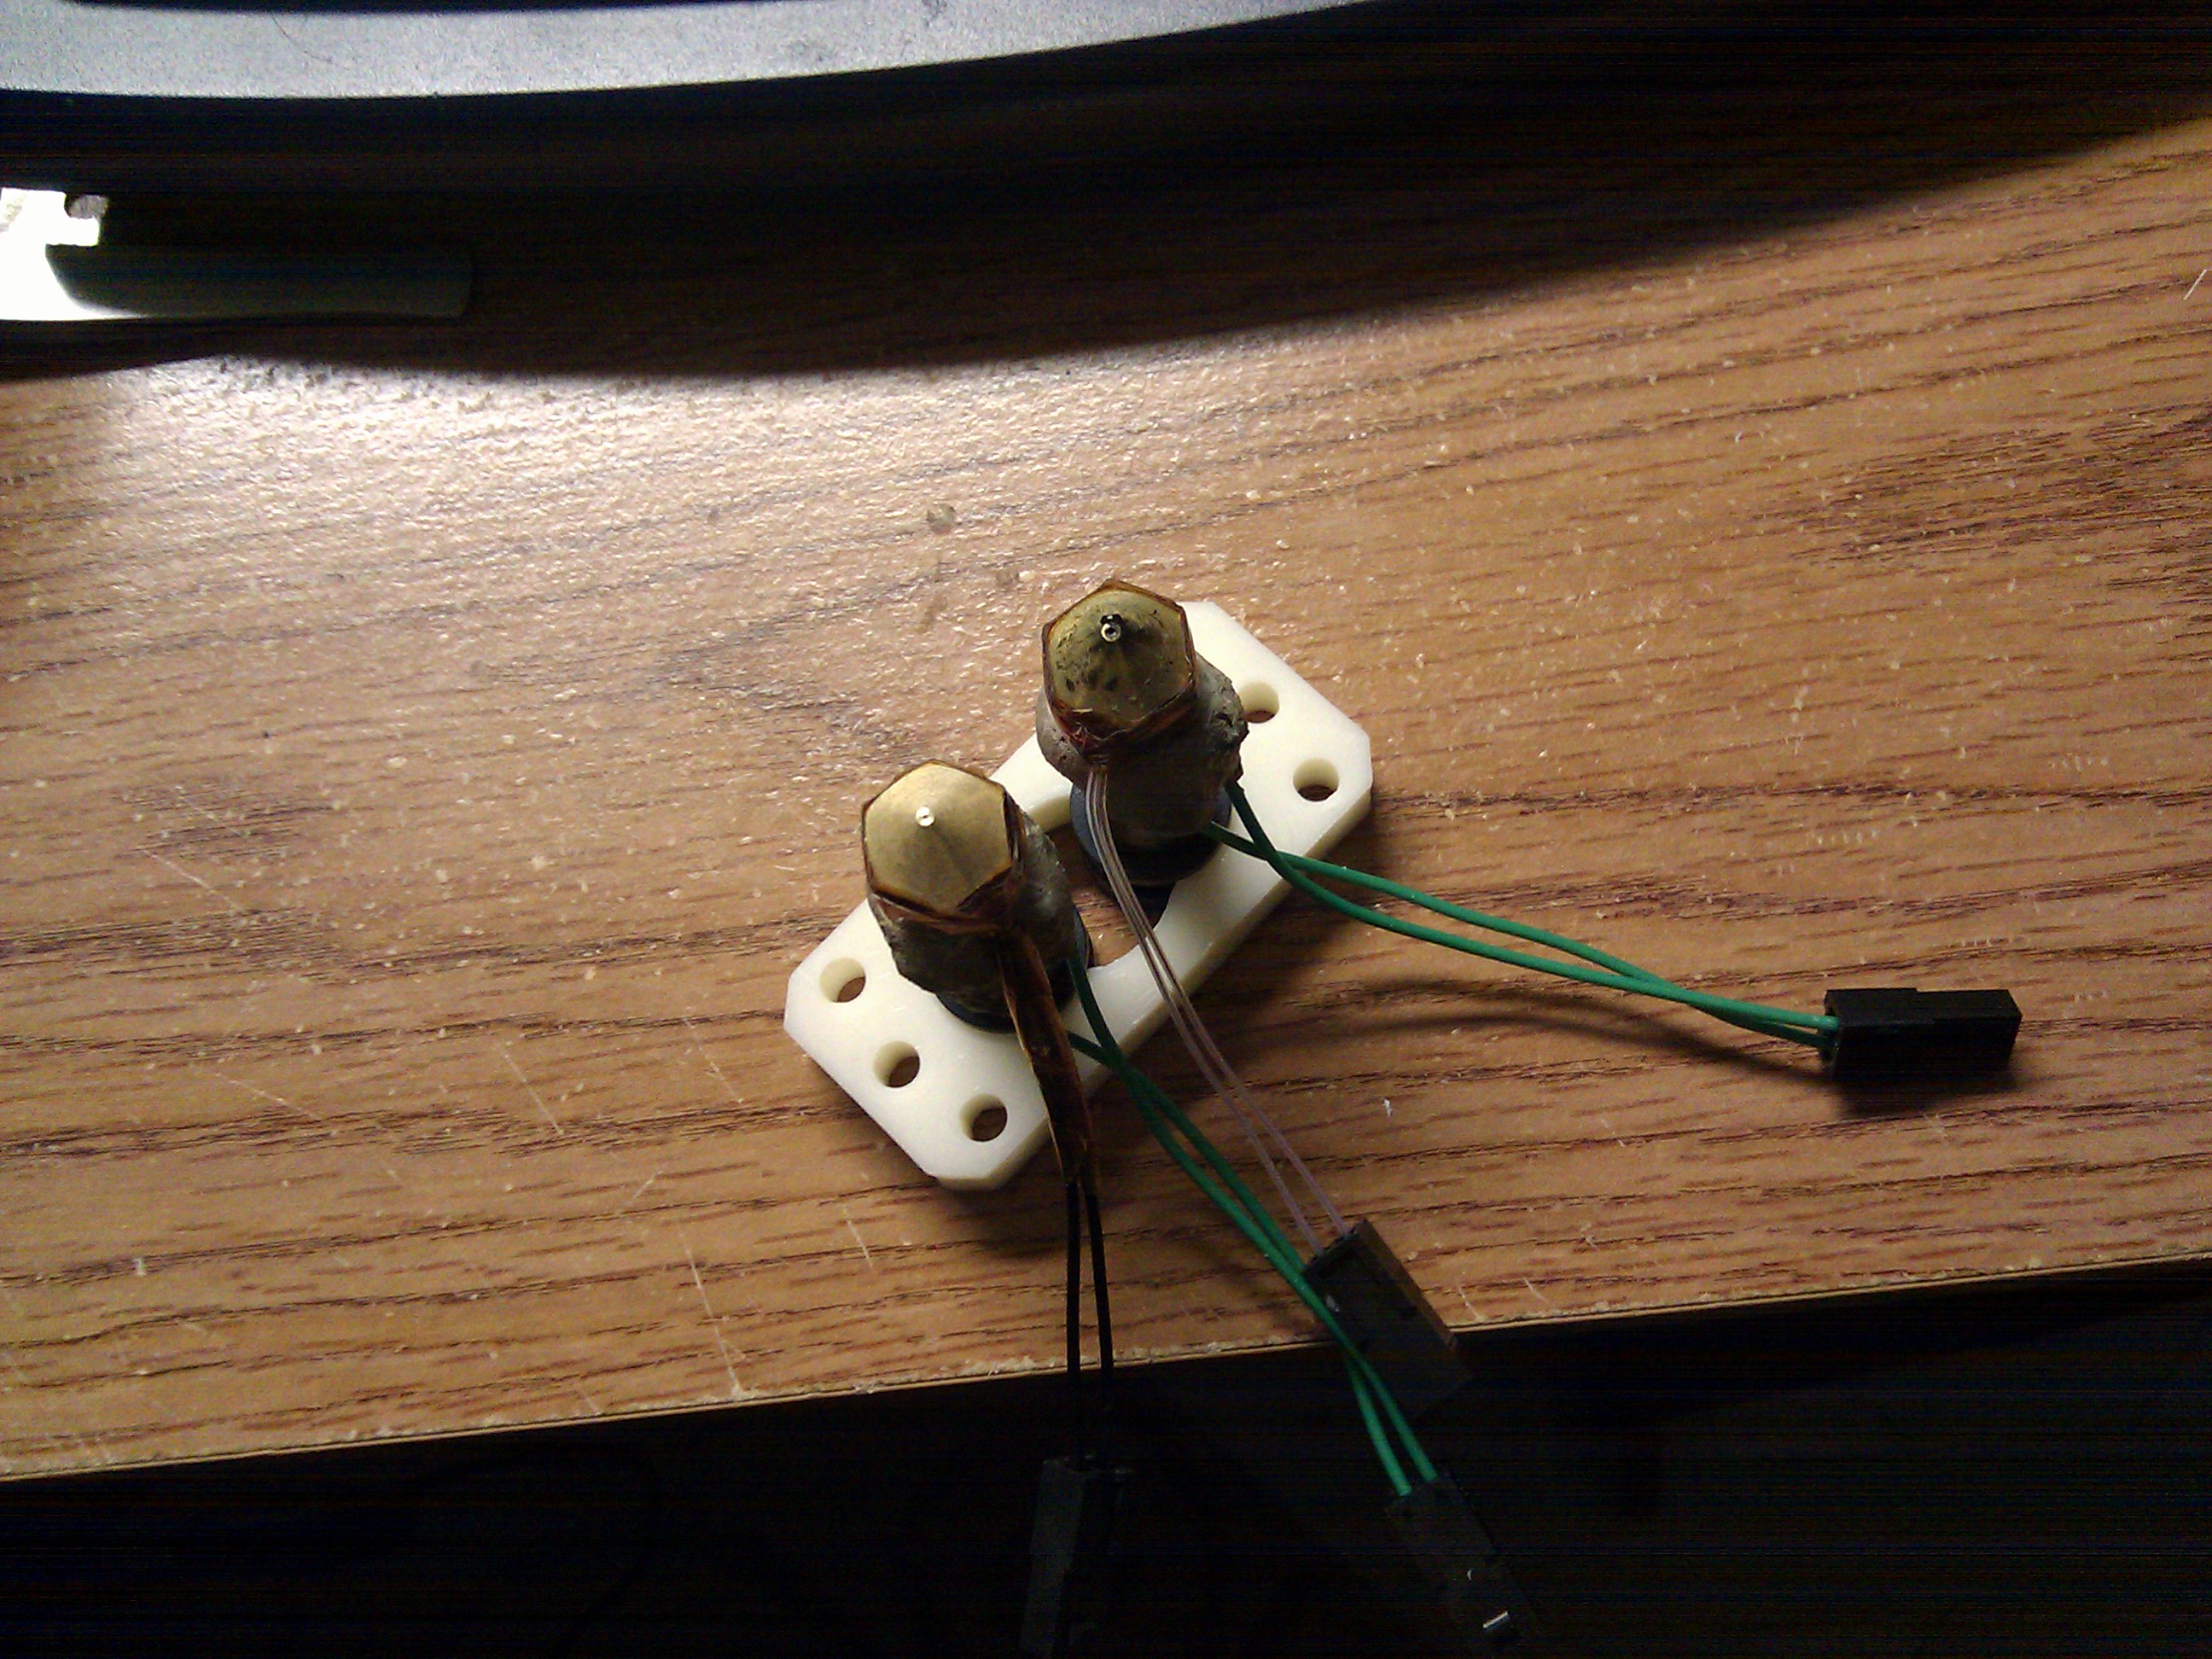
If you need to assemble the adapter, note that putting in the hotends requires quite a bit of force, but they have to be snag to avoid wobbling.
Put the first one in (that is easy), then position the second one like it is shown on the picture and use the screwdriver to drive it in
(use a bigger screwdriver than the one shown).
After the corner of the second extruder mount goes into the groove of the first one use the screwdriver tip to drive it further into its space.
Note, that you are unlikely to be able to take it out without cutting the mount, so might be a good idea to print a spare one just in case.


|
After assembling the mount, put on the hotend mount onto the X-carriage and screw it on at the corners.
Now it is a good time to level the hotends. Usually it is possible to level the hotends just by holding the hotend's
PEEK mount with pliers and screwing in the nozzle w/ heater barrel a bit more on the hotend that was sticking out.
If that doesn't work you might need to unscrew the nozzle and file the barrel top a bit.
It is important to level the hotends as precisely as possible.
Put the free ends of the filament drive tubes with nuts on them into the adapter slots. Drive pieces of the filament through the
tubes (starting from the extruder mount sides) till 10-15mm of it sticks out of the adapter tube end. Guide the sticking out filament
into the hotens and then screw on the adapter on top of the hotend mount. Now it is a good time to check again that the hotends are leveled.
If everything looks OK pull out the filament.
|
Extras:
There we some minor modifications in a few parts of the most recent RepRap X2 printers. The modified parts files can be downloaded here.
This is a reinforced X-end idler side.
This is a reinforced X-end motor side.
|