Single Extruder Printing
 It start with a 3D model for printing. There are plenty of the 3D models on Thingiverse.
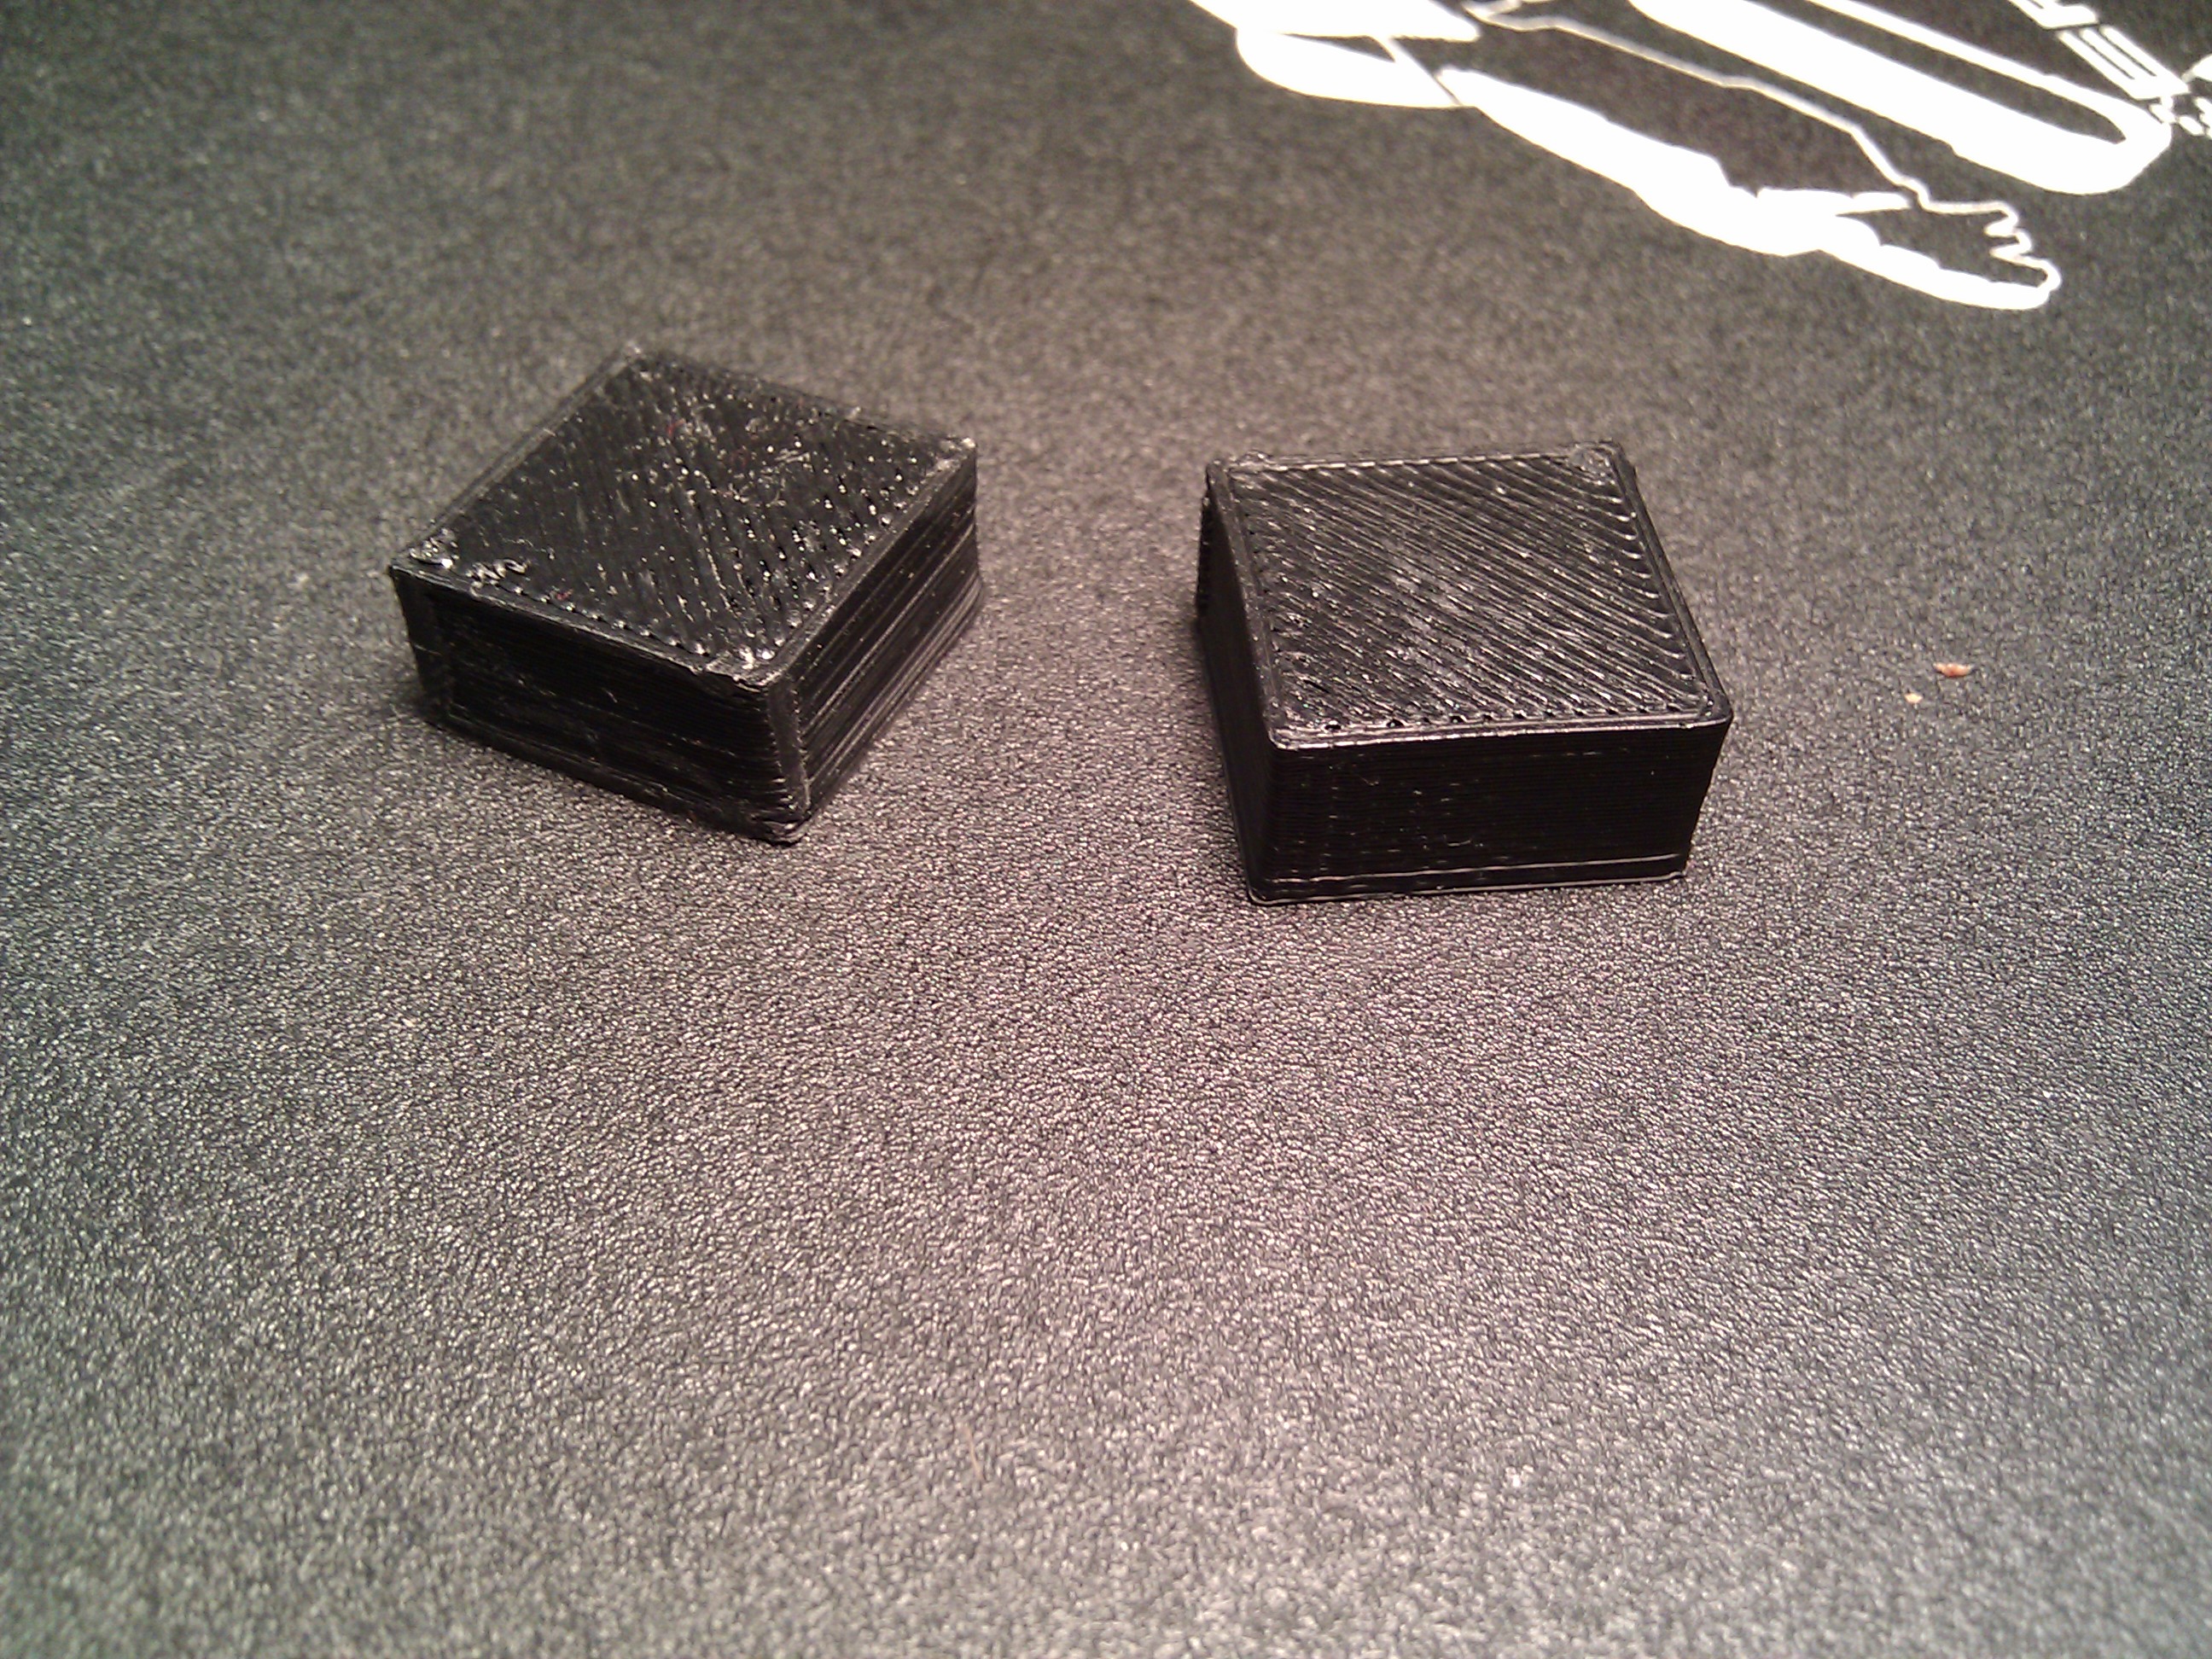
If this is your first print it is good to start with a simple calibration piece like 20x20x10mm calibration cube: https://www.thingiverse.com/download:5839.
The 3D model is a STL file. The file is essentially a list of coordintaes for a mesh of triangles forming the "skin" of the object and normals indicating on what side of each triange are the inside and outside of the object. In order to be printable
the model made of those triangles should be "well formed" or sometimes they say "manifold". Basically, it shoild be unambiguously clear for the software where it is
inside and where is outside of the object. Single file might contain several separate objects, but they should not touch each other.
It start with a 3D model for printing. There are plenty of the 3D models on Thingiverse.
If this is your first print it is good to start with a simple calibration piece like 20x20x10mm calibration cube: https://www.thingiverse.com/download:5839.
The 3D model is a STL file. The file is essentially a list of coordintaes for a mesh of triangles forming the "skin" of the object and normals indicating on what side of each triange are the inside and outside of the object. In order to be printable
the model made of those triangles should be "well formed" or sometimes they say "manifold". Basically, it shoild be unambiguously clear for the software where it is
inside and where is outside of the object. Single file might contain several separate objects, but they should not touch each other.After choosing the model, downloading and saving its STL file on the local hard drive, it is time to power up, start Ponterface (Printrun's UI) and connect to the printer. Note that the Arduino board is powered up trough the USB cable, so its state is preserved even if the printer's power source is power cycled. Also, if you click the "Disconnect" button on the Printrun UI or just power down the host computer while printer is up the Arduino firmware will keep running (that's necessary for the off-line printing from SD card). Only when you click the "Connect" or "Reset" button the priter firmware will restart.
Let's say the printer has been reset and all the temperatures are set to 0s, the plastic is loaded, nozzles and printbed are in place and leveled, and the printer is ready to print. The first step now is to choose the extruder for printing ("Ext 0" or "Ext 1") and set its target temperature ("Heater" field) and the temperature of the printing bed ("Bed" field). It is usually a good idea to start the fan (I'm usually using "fan 50%" for ABS and "fan 100%" for PLA). It takes some time to reach the target temperatures and stabilize ("Check temp" will show the current temperature of the selected extruder and the bed). While the printer is in the process of heating up you can click "Settings"->"Slicer Settings" and select a profile ("Select Profile" drop down box) for printing. Depending on the type of the plastic in the selected extruder choose either "ABS-0.5-Pars" or "PLA-0.5-Parts" and close the Skeinforge setup dialog. Now choose "File"->"Open" and select the 3D model STL file. Printrun UI will invoke Skeinforge and it will start "slicing" the object. You'll see its output on the right side of the UI and when the slicing is done should be able to examine the generated toolpath by clicking on the grid and scrolling through the layers ("slices") of the object. If everything looks good and the target temperatures are reached click the "Print" button.
The first thing the printer does is homing to determine the point with coordinates [0,0,0]. After that it lifts up the head and dwells making sure the temperatures are reached and stable. When the wait is done it establishes the plastic flow by extruding some plastic right in the air. You should see the plastic coming out at least a little bit if everything is OK. After establishing the flow it dwells 10 more seconds allowing for cleanup of the hanging plastic (remove it with tweezers) and then starts the print. All the profiles are for the raftless printing, therefore a good bed levelling is very important.
While printing Printrun shows the toolhead path on the grid. When the printing is done the temperatures are reset to 0 and the bed is moved forward. Wait till the prited model cools down and then try to peel it off. You can use a knife but be careful not to cut yourself or if you are using the kapton tape not to damage it.
Two Extruder Printing
 There are several ways of printing with 2 extruders. The "separate volumes" method will be described here. This method so far has produced the best results.
Before moving on to the two extruder printing the printer should be proven to print reliably with either extruder and the extruder offset (the X and Y offset of the extruder 1 from the extruder 0) should be correctly configured in the firmware or EEPROM settings
(note that the EEPROM offset settings become available in Beta 2 of the X2 mod of the Marlin firmware).
There are several ways of printing with 2 extruders. The "separate volumes" method will be described here. This method so far has produced the best results.
Before moving on to the two extruder printing the printer should be proven to print reliably with either extruder and the extruder offset (the X and Y offset of the extruder 1 from the extruder 0) should be correctly configured in the firmware or EEPROM settings
(note that the EEPROM offset settings become available in Beta 2 of the X2 mod of the Marlin firmware). The calibration cube for the 2 extruder printing can be found here: https://www.thingiverse.com/thing:17766. There are 2 STL files describing the whole object, one for extruder 0 and one for extruder 1. The "Ext 0" is considered to be the "base" extruder and the "Ext 1" the "insert" or "pattern" extruder.
As usually it is a good idea to power up heaters early. For the start you can heat up extruder to 215 C and the bed to 115 C for the ABS printing. For PLA the temperatures are 175 C and 75 C. Slice both (the "base" and the "insert") STLs of the model using the approprite Skeinforge profiles (i.e. for the base part STL printing in ABS use ABS-0.5C-BASE, for the "pattern" STL use ABS-0.5C-INSERT profile). When done skeinforge generates "..._penultimate.gcode" files for your STLs. These files contain "decorated" gcode with information about layers that we will need at the next step.
Use the X2Merge button to start X2MergeDialog UI for generating the combined gcode from the two "..._penultimate.gcode" files made from the model's STLs. The merge tool needs to know the paths to the base and the inset penultimate gcode files. It also needs pathnames to the gcode files for switching the extruder 1 on and off. Those files are loooked up in the Skeinforge alternations folder (look for .x2sw/.skeinforge/alterations/c_*.gcode in the profiles for your printer). The merged gcode file is named and loaded into the Printrun automatically if the operation completes successfully.
Use Printrun UI to examine the toolpath in the toolpath view to make sure it was merged correctly. If everything looks OK proceed to printing.
Notes:
Happy printing!